
Easy DIY Noel Christmas Banner (No Sew, Burlap and Fabric Scraps)
Learn how to make a no sew Noel Christmas banner from burlap, fabric scraps, ribbon, and lace. A quick mixed media craft that looks lovely on a hutch or mantel.
Some crafts you plan for weeks. You sketch, you shop, you line up your supplies like little soldiers.
And then there are the crafts that happen because you have a hutch that looks bare and a basket of fabric scraps that keeps giving you the side eye.
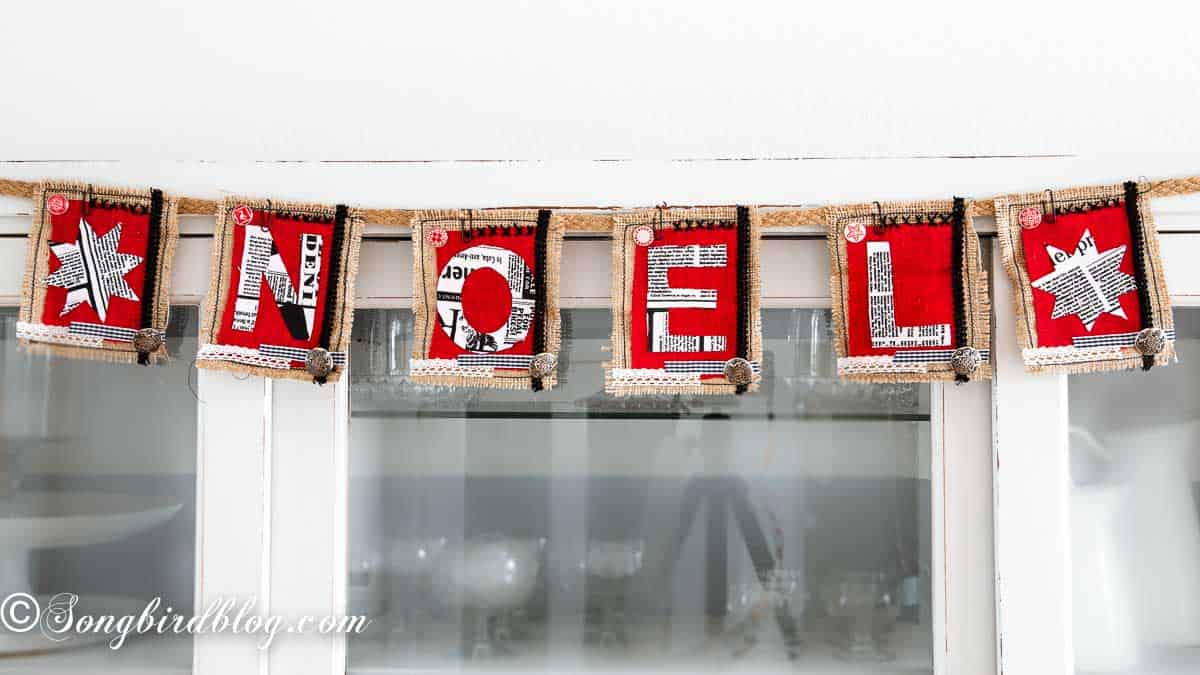
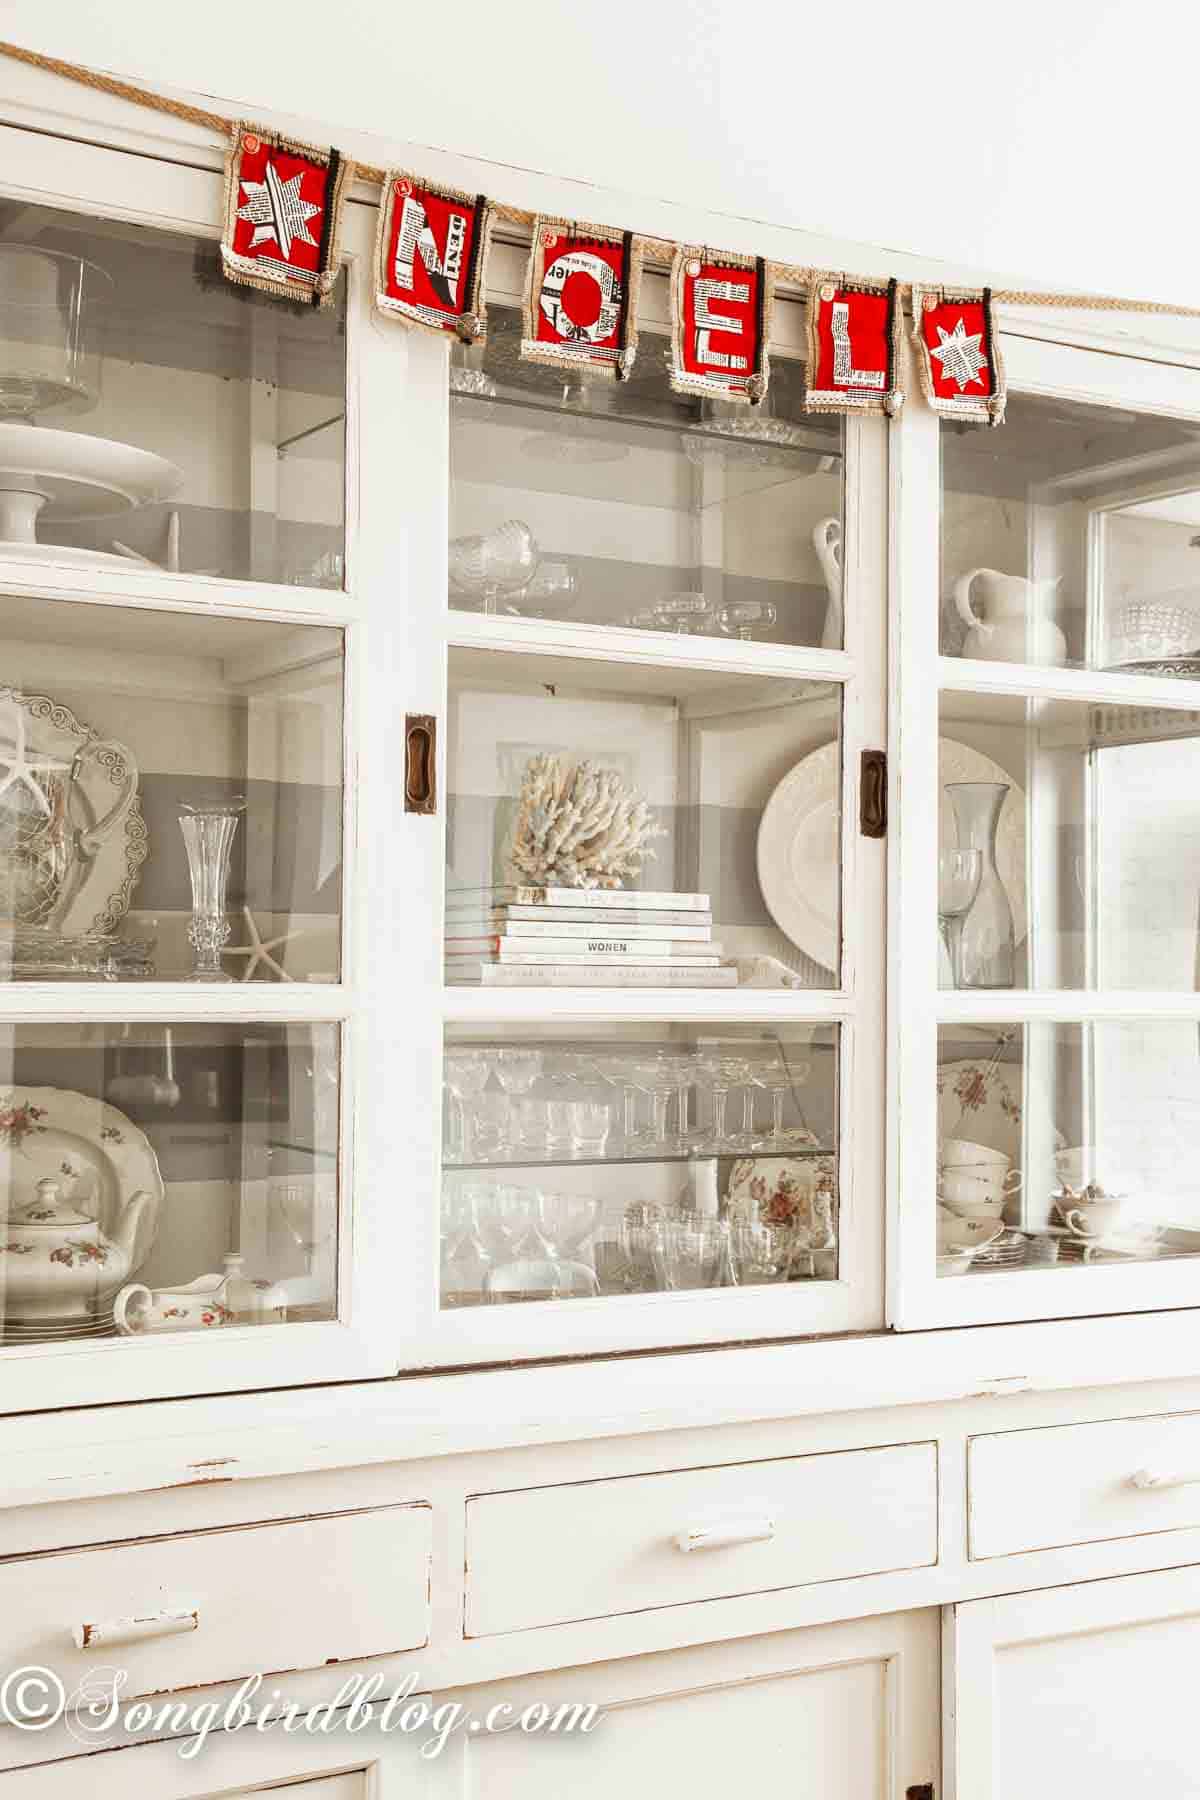
That’s how this Noel Christmas banner was born. It’s burlap and buttons, ribbons and lace, a little red linen, and a whole lot of glue. No sewing machine required (mine had opinions about that, more on her in a minute). If you can cut and glue, you can make this banner in an afternoon.
And in case you’ve ever wondered, Noel simply means Christmas. It comes from the French word for the celebration of Christ’s birth, and it’s been showing up on Christmas decor for generations. I love it because it’s short enough to cut just four letters from fabric scraps, and pretty enough to carry a whole mantel.
And that’s really the secret to it. By gluing instead of sewing everything down, I saved myself hours, and I used up a pile of little scraps from my craft room at the same time. Gotta love a project that cleans up after itself.
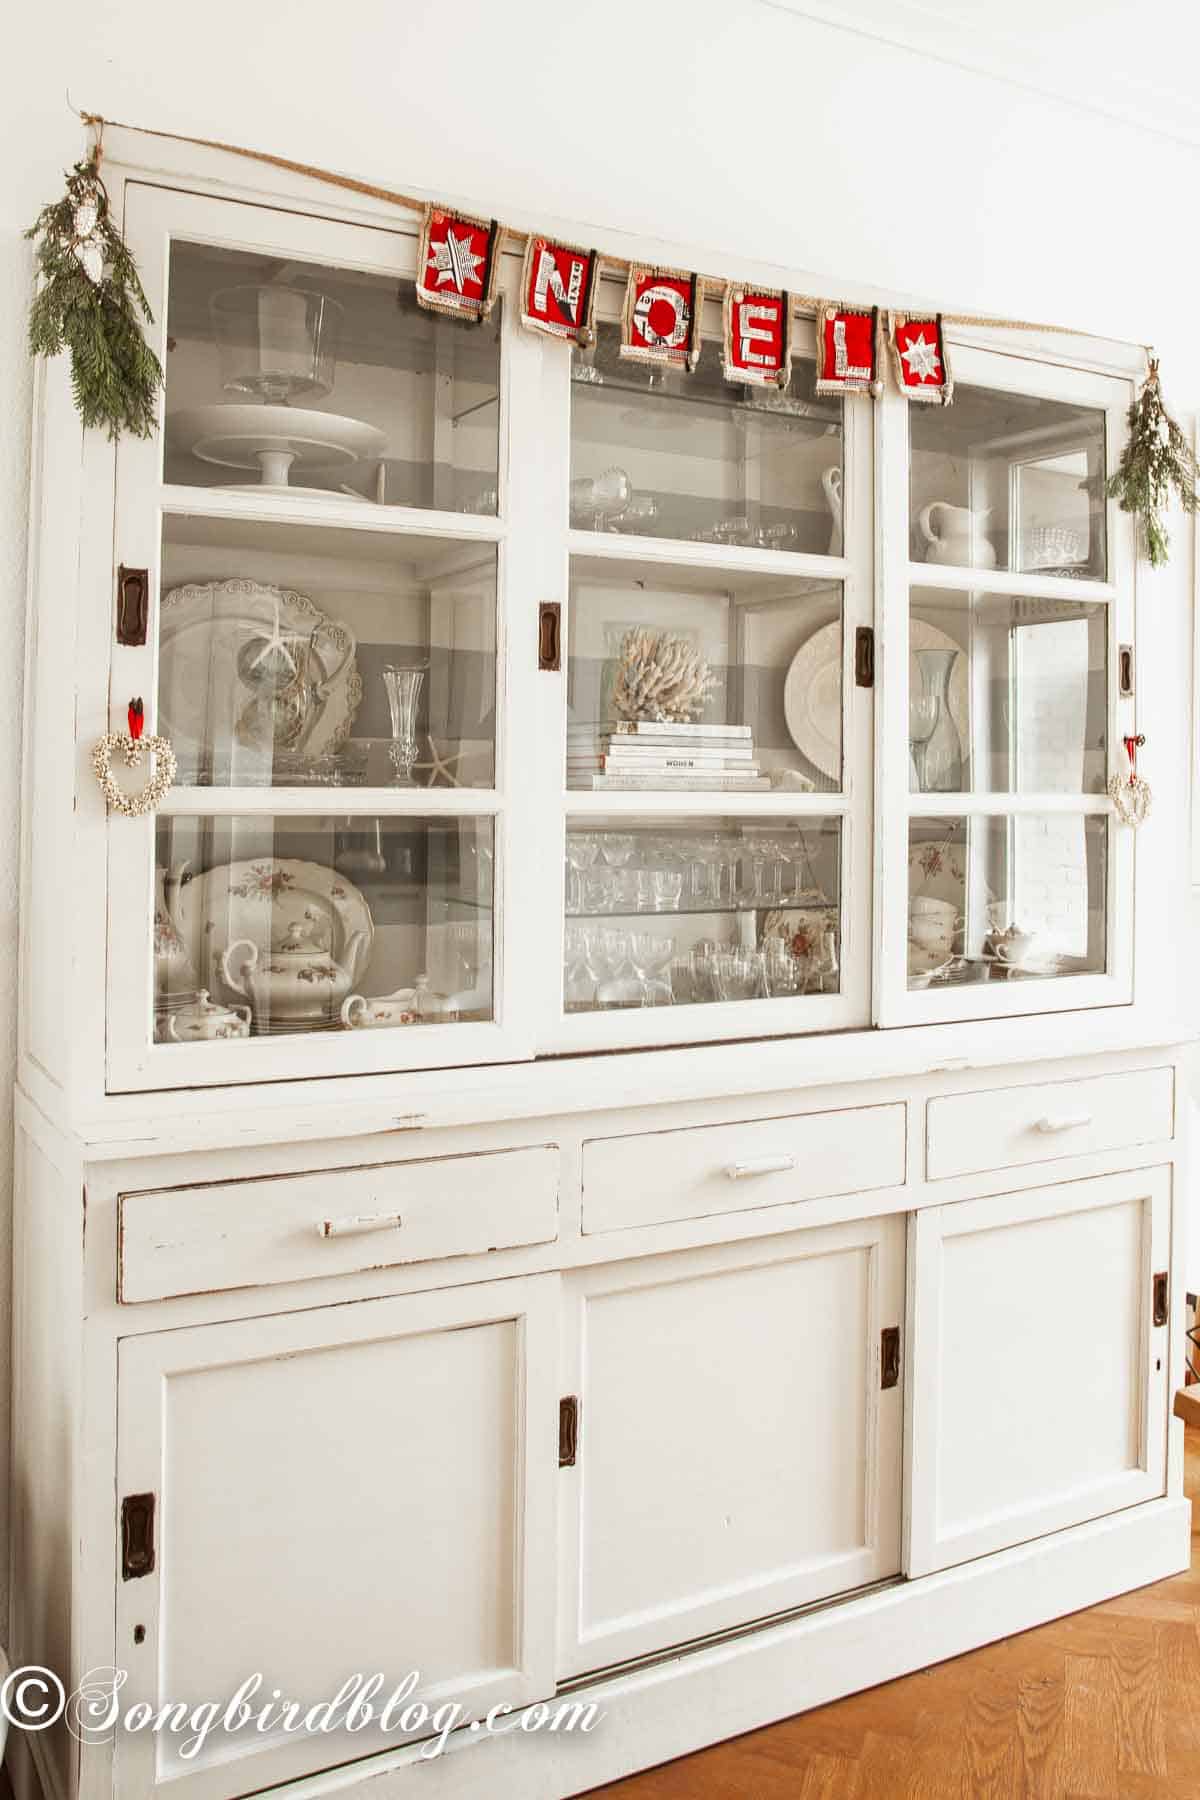
P.S. Are you by chance interested to know more about this hutch? It used to be colonial wood brown. I gave it the milk paint treatment. You can learn more about this hutch transformation project here.
How to Make a No Sew Noel Christmas Banner
Here’s what you’ll need:
- a piece of burlap large enough for your canvas,
- an assortment of pretty fabric for the background and letters,
- some ribbons and lace trim,
- a few buttons,
- all-purpose craft glue and scissors,
- a string (twine, ribbon etc.) for turning it into a garland,
- And paperclips. Yes, really. You’ll see.
Step 1: Cut and prep your burlap.
Cut your burlap into a rectangle. Mine was cut quick and dirty on purpose, because I knew I wanted frayed edges. To keep the fraying from running away from you, stitch a border all around the edge. I went around twice, once with a straight stitch and once with a zigzag. That stops the fray right where you want it.
Now, about that stitching. My sewing machine did not like the burlap one bit. It gave me attitude the whole way around. And what do you do with someone who gives you attitude? Right. You ignore them. So after the border, everything else on this banner is glued. All-purpose craft glue, and it holds beautifully. If you want to go no-sew all the way you are probably fine with not sewing a border at all.
I cut six pieces. Four for the N.O.E.L letters and two as endcaps. You decide how long you want your banner to be.
Step 2: Add your background fabric.
I cut a pieces of red linen from a dress I sewed years ago. No way I could fit into that baby anymore, but the red linen is still gorgeous, so it went on the banner instead. Glue it down onto the burlap, smoothing it flat as you go.
Step 3: Cut and glue your letters.
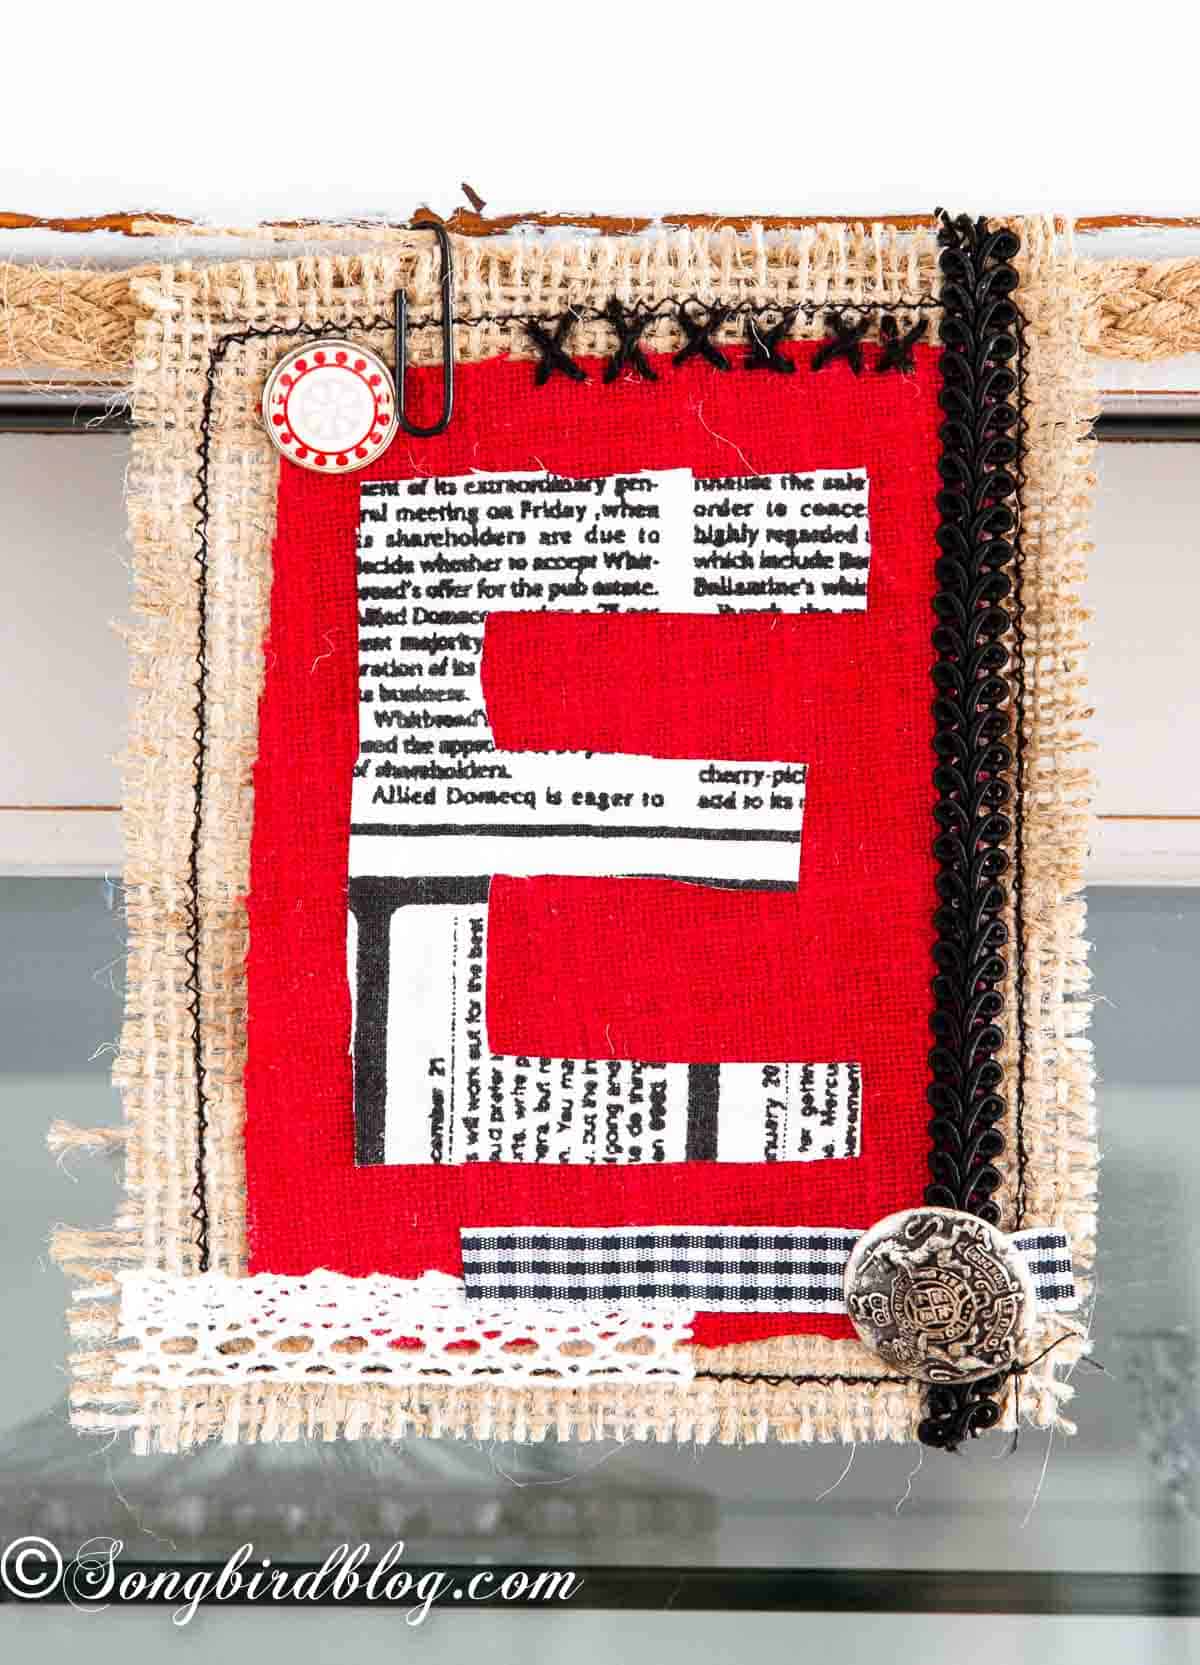
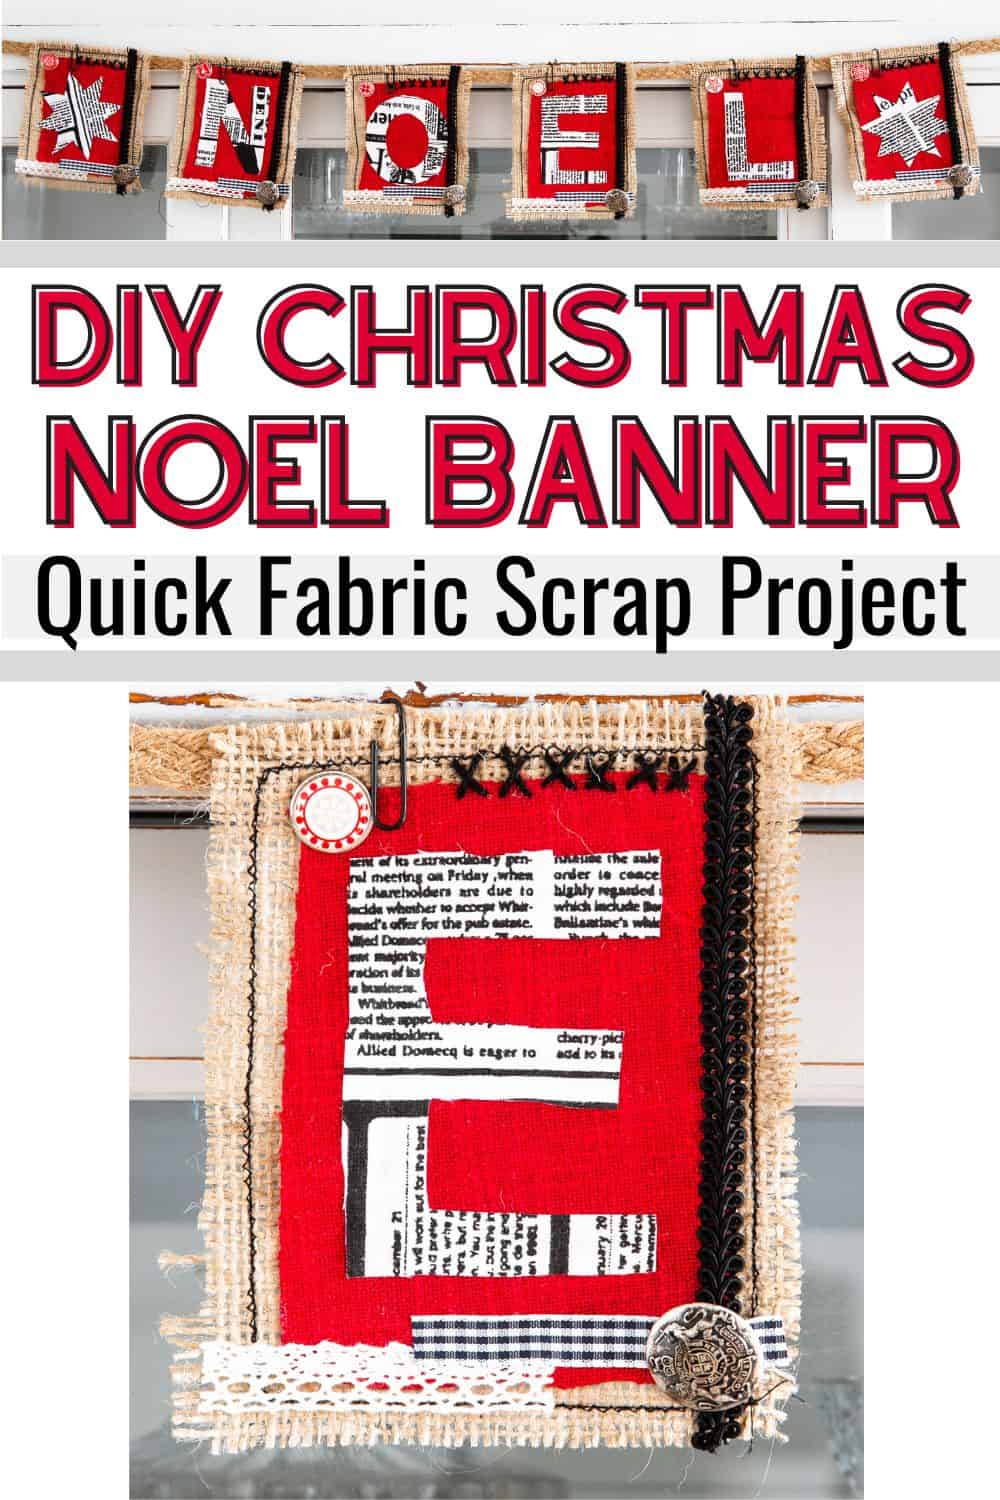
Cut your N, O, E, and L from a printed fabric. Print fabric is perfect for this because the pattern hides any wobbly cutting edges. Glue the letters onto your background fabric.
Step 4: Embellish until your heart is content.
This is the fun part. Keep gluing ribbons and lace until you like the arrangement. I hand stitched the button and the little crosses on mine, but that took all of five minutes. Stars, jingle bells, tiny pom pom trim, whatever is in your scrap basket. There is no wrong answer here.
Step 5: Attach the finished burlap canvases to a string (or ribbon or twine)
Now it is time to turn those individual pieces of mixed media art into a garland / banner. Use glue or hand stitches to make it come together.
Here’s my favorite trick, the one I promised you up top. For each canvas, add a black paperclip over the top edge after you have attached canvas and string together. It holds everything extra secure, and honestly, it looks good. Little details like that are what make people ask where you bought something. You didn’t buy it. You made it.
Step 6: Hang it and finish the look.
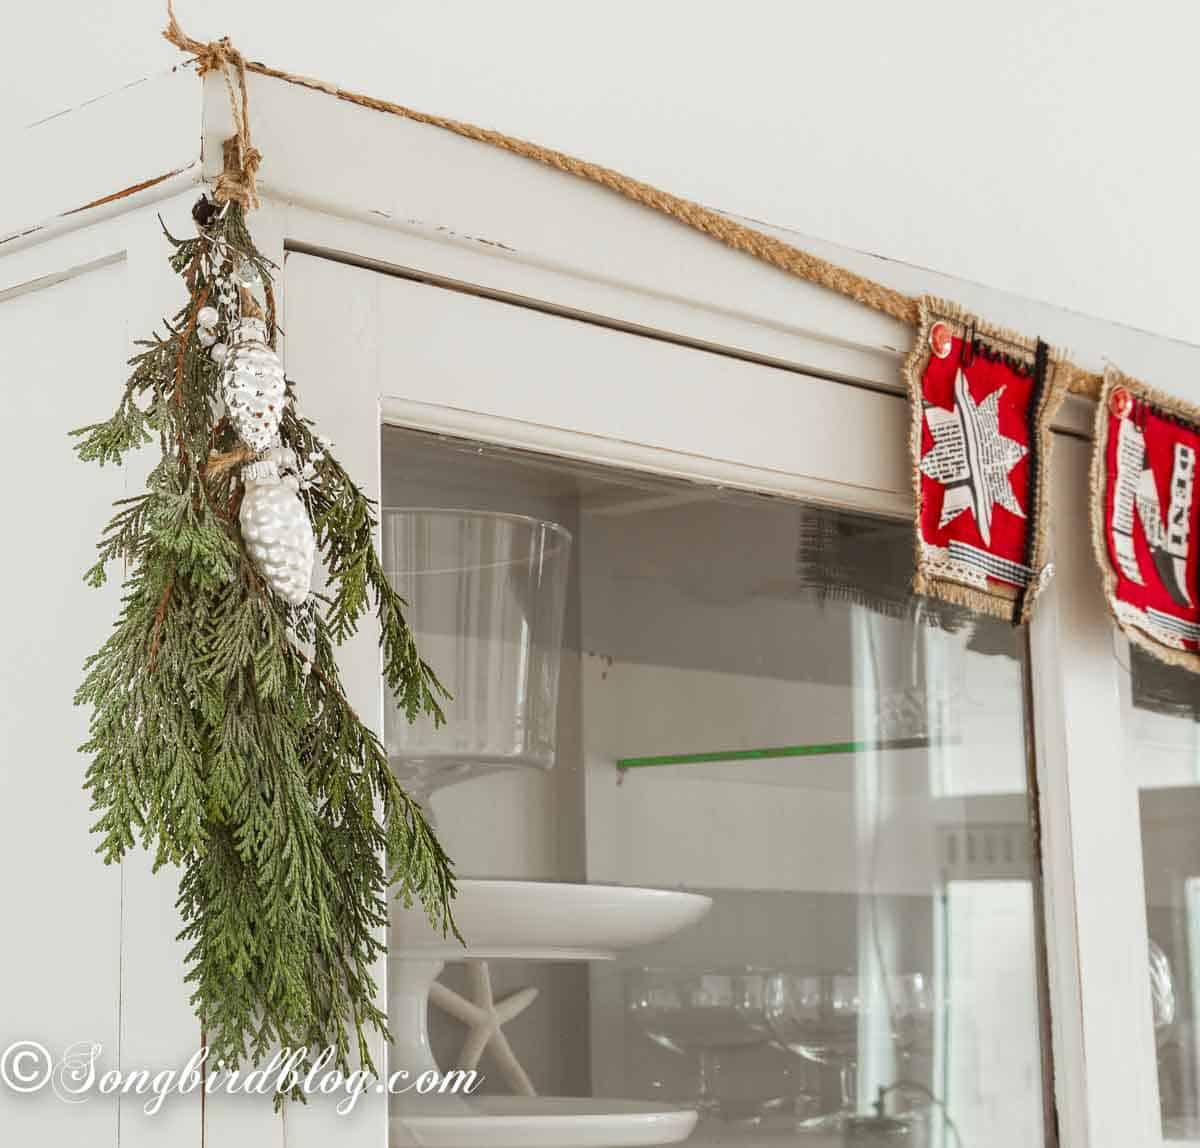
Mine hangs on my hutch. On the same nails I hung a quick evergreen sash, just a branch and a few ornaments tied together with string. Easy, but it finished the look big time. This banner would be just as sweet on a mantel or layered over a wreath on a front door.
More Easy DIY Christmas Decorations
If you love a handmade Christmas, you might also enjoy my twig Christmas decorations, my vintage-style ornaments from cards (they are also a mixed media project), or my vintage Christmas bells I made from chandelier parts.
Your Turn: What Will Your Christmas Banner Say?
So tell me. Are you a gluer or a stitcher? Do you have a basket of fabric scraps that deserves a second life too? I’d love to hear what word you’d put on your own banner.
Pin this Noel Christmas banner to your Christmas crafts board so it’s waiting for you when the decorating mood strikes.

I’m just loving the pop of red! Obviously. 😉 I love that this has a vintage feel too. Just beautiful, friend. 🙂
xo Michael
Love that color red, so rich. Great banner!~
Oh goodness.. this is a mixed media art piece! Stunning, Marianne! LOVE the rustic / red spin to it!
Love everything about this Marianne 🙂
Love this! Soo cute and rustic! 🙂
What size are your burlap squares?
Not sure but about 6×8 inch.