
DIY Felt Star Christmas Garland with Vintage Buttons
Hello, my sweets, and welcome back. Today I have a light little project for you. Light as in wonderfully white. Light as in no heavy lifting. Light as in you can finish it before the movie ends.
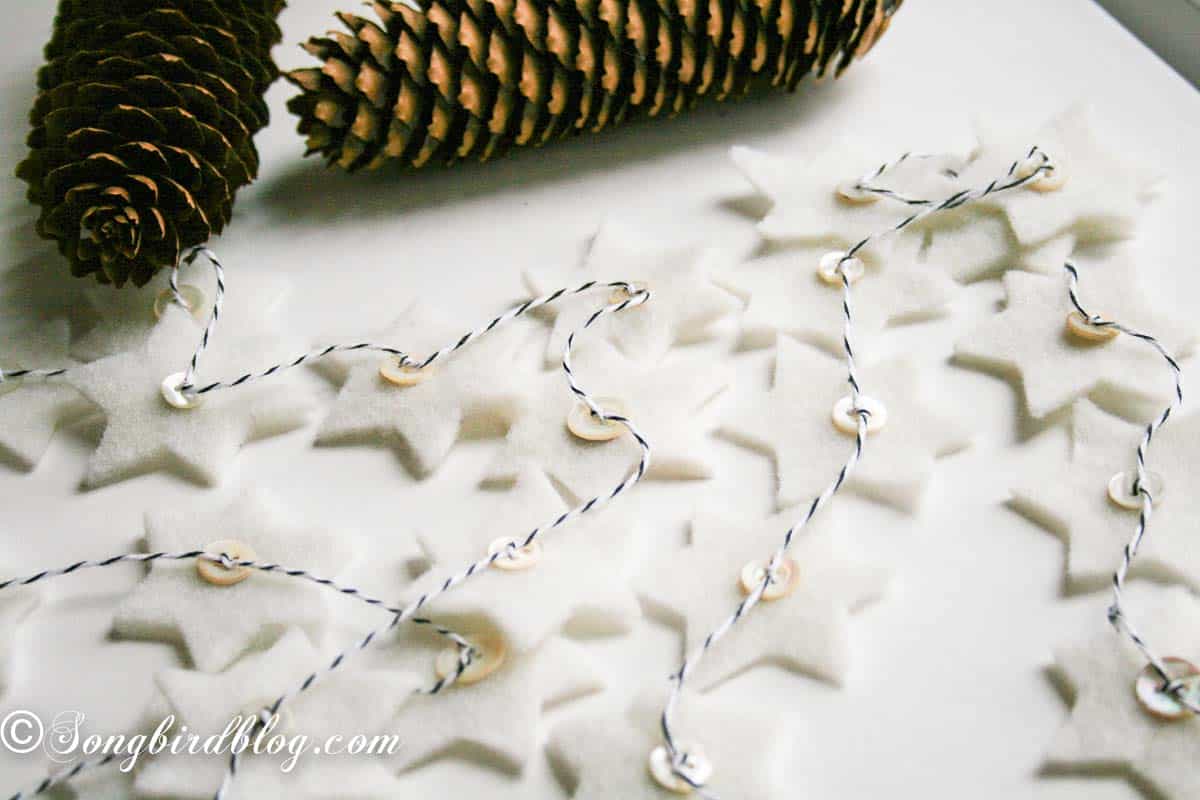
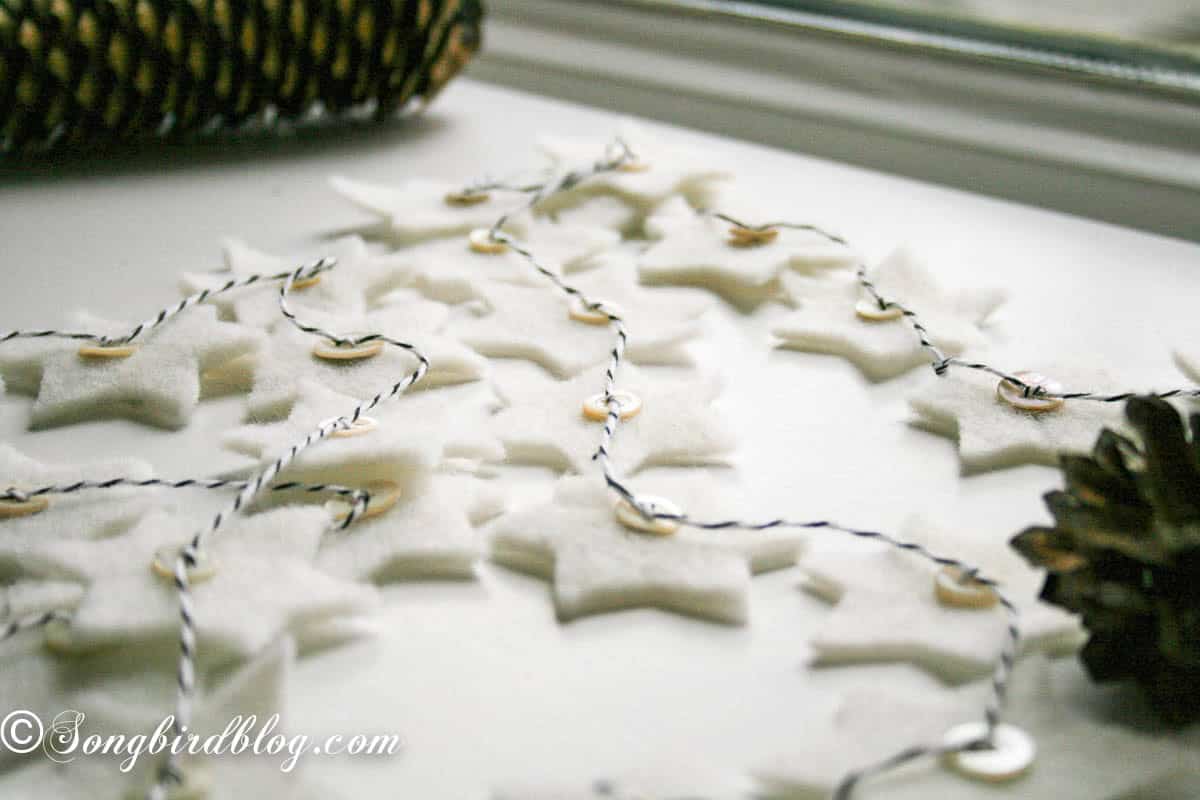
A DIY felt star Christmas garland, made with scraps of wool felt and tiny vintage buttons.
This is one of those projects I started without a plan. I found little rolls of wool felt in a general household store, and I knew I needed to bring some home. What for? No idea. I’d figure that out later.
At home I just started cutting. And that’s honestly the whole secret of this garland. Cut first, plan later. It worked.
Before I show you how it all comes together, a little teaser. At the bottom of this post there’s a quick FAQ, including my honest answer to whether you can make this garland without any sewing at all. Skip ahead if you’re short on time, or settle in and stay with me.
Come on, let’s take a peek…
How to Make a Felt Star Garland
The beauty of this felt star garland is that you need almost nothing. No pattern. No sewing machine. No craft-room experience required.
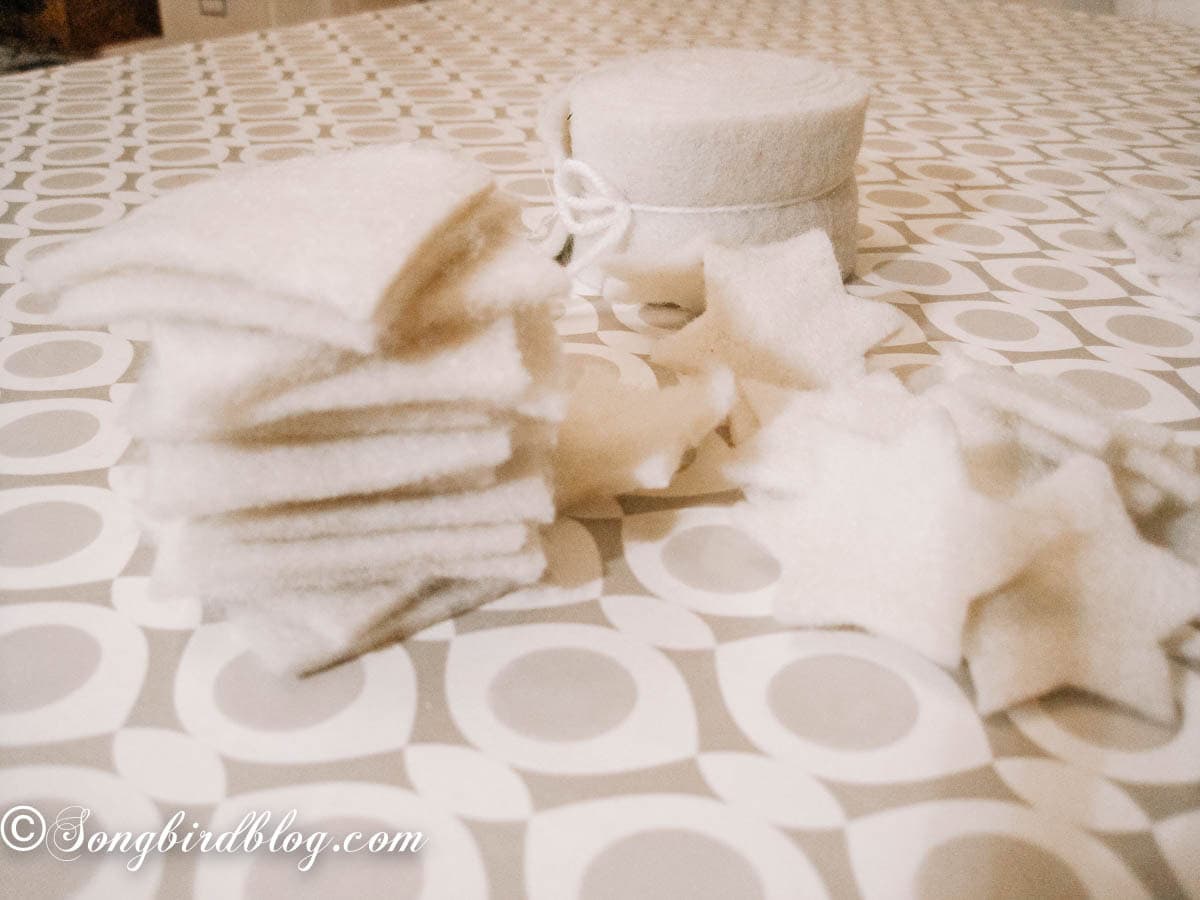
Here’s what I used:
- Wool felt in soft white (a few small rolls or sheets)
- Butchers twine
- Tiny vintage mother-of-pearl buttons, with holes big enough for a large needle
- Scissors and a sewing needle
First, cut your felt into small squares. Then trim the squares into stars. Don’t overthink the star shapes. You can make a template out of cardboard. Or you do as I did and eyeball the whole thing. Some of mine are more pointy than the others, I am fine with that, I was going for the handmade look anyway.
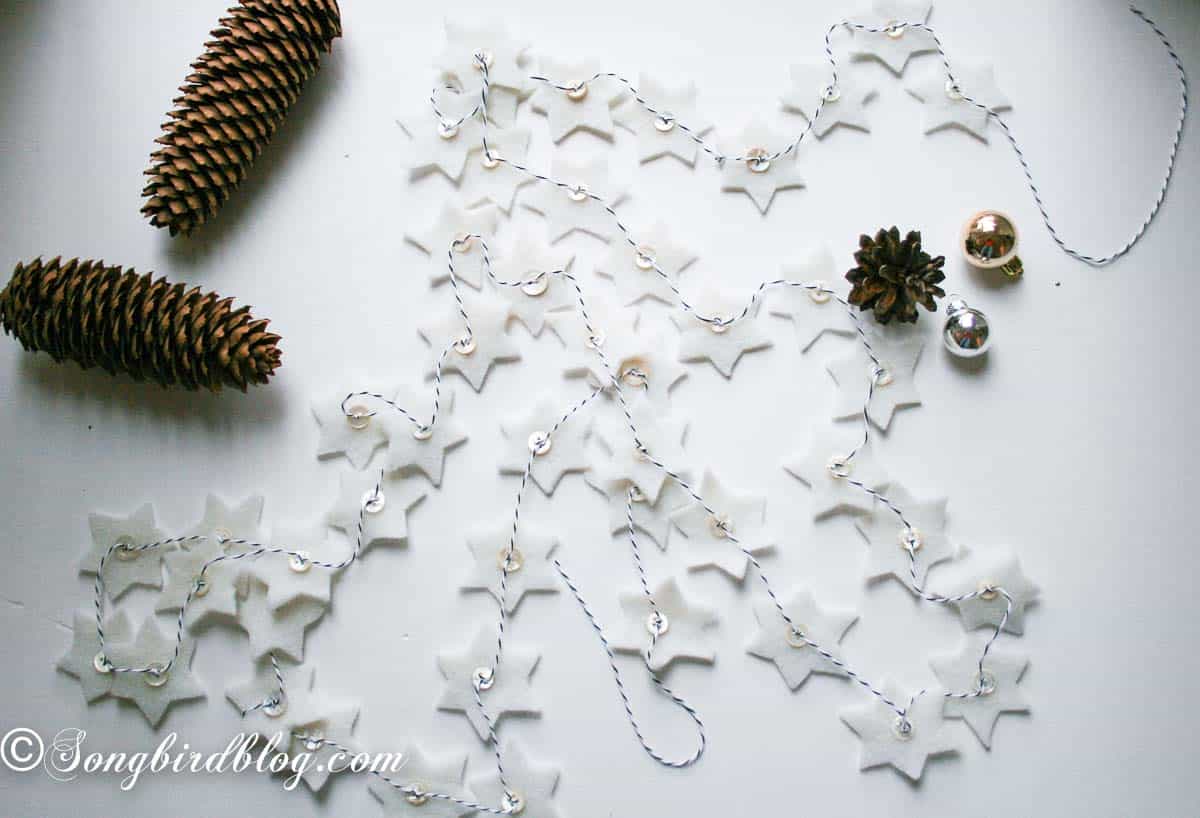
When you have a little pile of stars in front of you, they’ll start talking to you too. Garland, they’ll say.
Sewing the Garland Together
This is where the vintage buttons earn their place. Instead of sewing the twine through the stars I used the buttons to attach felt and twine together. The buttons add a little weight to the stars and give the garland a lovely sway when it hangs.
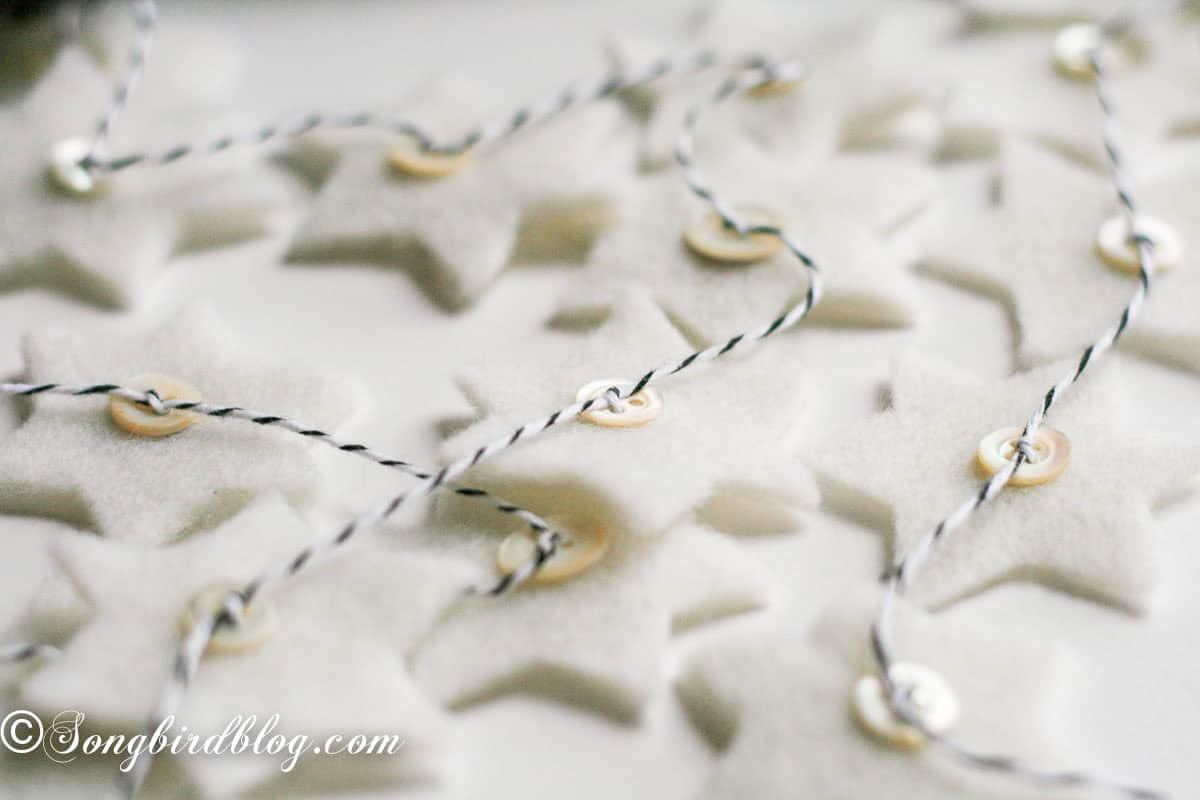
- Thread your needle with the twine (keep it very long)
- Stack button in the middle of the star
- Bring the needle down through the button and the felt
- Come up through another hole in the button
- Tie a simple knot
- Leave a bit of twine as room and attach the next star the same way
- Keep going
- Tie off the twine at each end with a simple loop so you have something to hang it from.
That’s it. Truly. This whole little craft went remarkably fast. I don’t think I needed two NCIS episodes to finish it, start to end. One evening, one cup of tea gone cold beside me, done.

Where This Garland Lives Now
I had no idea where this garland would end up when I cut the first star. It ended up exactly where it belonged, draped and twinkling in my Christmas bedroom, where it shines on my headboard. I love that it has found a place where it belongs.
And if you love crafting with felt as much as I do, you’ll want to see the felt puppet Christmas ornaments. They’re a reader favorite and even easier than they look.
FAQ: Felt Star Garland Questions
How do you make a felt star garland?
Cut small stars from wool felt, then hand-sew them onto butchers twine, with buttons and knots one star at a time. No pattern or sewing machine needed, and the whole thing takes about an evening.
Can you make this garland without sewing?
You can. You could glue the twine between the felt stars and the buttons. But I’ll be honest with you, the hand-stitching is what finishes it off, and it’s simple enough for even a reluctant sewer. Give it one try before you reach for the glue.

Your Turn
Now I’d love to hear from you. Do you ever start a craft with no plan and see where it takes you? Or are you a careful cutter and planner, every star measured? Tell me in the comments, I read every single one.
And if this little garland made you smile, pin it now and make it later. It’s the perfect cozy project for a quiet December evening.
It did come together! I like simple projects too… This is so cute and smart! LOVE.
~W
Wat zijn de sterretjes super leuk geworden! Soms kom je zonder plan juist op de leukste ideeen.
Ja inderdaad. Soms wordt het ook een ramp, maar als het gewoon vanzelf ontstaat en het werkt dan is het extra leuk. Dank je wel voor je commentaartje.
Marianne,
This is so pretty and classic. You are so true to your style! And the photography…..truly wonderful!
blessings,
karianne
Absolutely beautiful! I smiled when I read KariAnne’s reply because I had just said to myself, “I love EVERYTHING she does!” I cannot wait to see where these end up because I know it will be magical!
I LOVE this idea. Such a simple, elegantly beautiful garland. Very in keeping with all of your design, Marianne. Thanks for sharing.
Thanks dear! I am glad you like it.
Marianne, thanks for such a beautiful idea. Have always liked buttons and adore stars, all year round. Happily (living in the country) I have all the supplies to make this, including the bakers twine. I knew my stash of ‘stuff’ would come in handy. Thank you for sharing here on the 12 days of Christmas.
You are so welcome. How nice that I inspired you, I love to hear that. Happy crafting to you.
Love the garland! And love that you have Sugar Pine Cones
Is that what they are? What a fun name. I found them on one of my Sunday walks. Thanks for visiting!
Swoon! I am totally in love with felt these days. This garland is amazing! So cute, but still super modern and fresh. The button detail is perfect! Love it Marianne!
Seriously love these! And I’m so jealous that you were able to just throw this together!!
What a charming garland–I am enjoying each day’s creations form each of you!
Really beautiful!
Débora
So cute! I love the little stars! And the button is the perfect touch. 😉